


ColorCore is our go to for outdoor signage!
ColorCore HDPE Plastic - Premium Multi-Layer Engravable Sheets


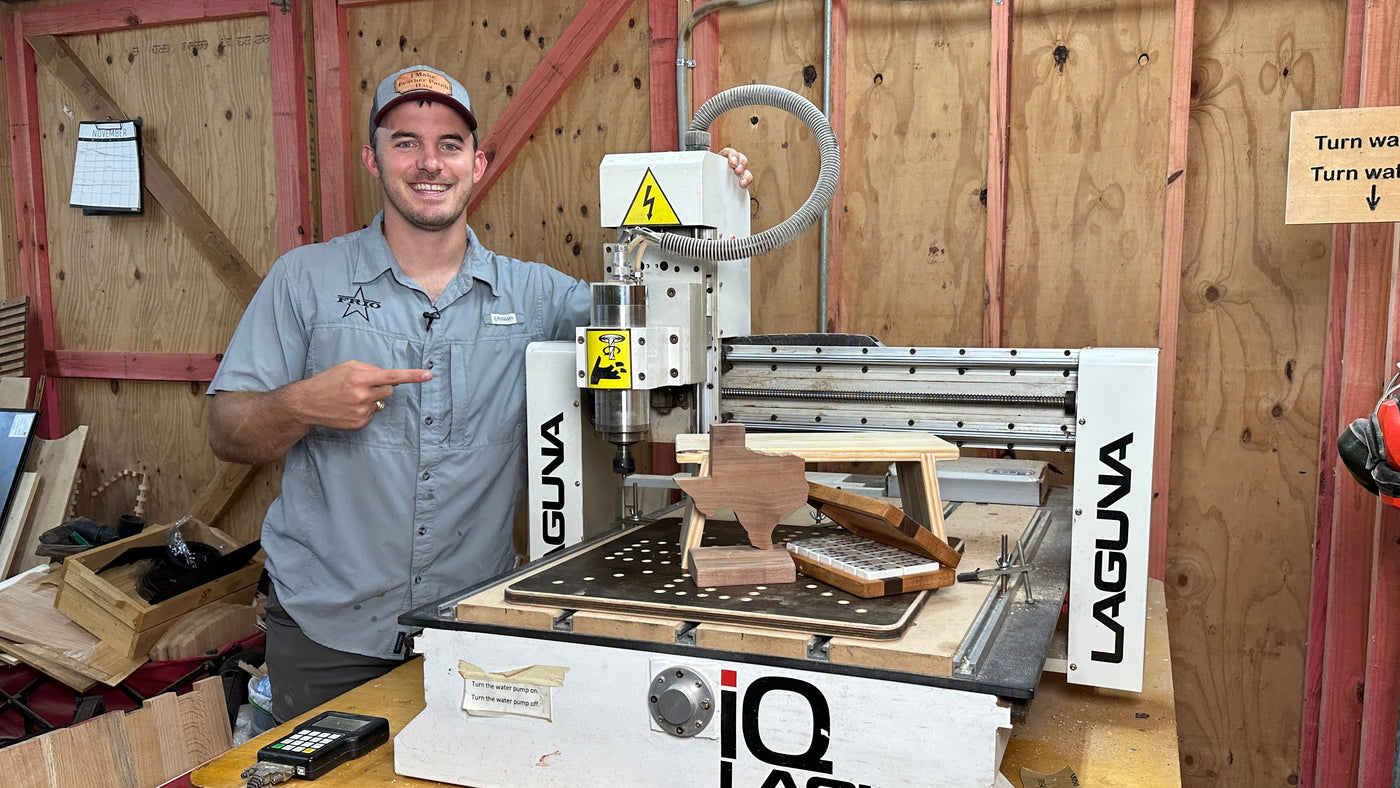
Our mission is straightforward: to simplify your woodworking journey. We understand the hurdles beginners face, from high costs to complex techniques. That's why we've curated a selection of high-quality products that are easy to use, regardless of your skill level. From CNC bits and digital files to raw lumber and pre-glued panels, we've got everything you need to bring your projects to life, effortlessly.


This V-Carve Inlay Bit Set includes the same 30° V-Groove bit and 3/16" upcut bit we use in all of our inlay cutting board projects. Whether you're...
View full detailsThe 30° V-Groove bit is a true workhorse for engraving, V-carving, and precision inlay work. With its 3-flute design, it delivers a smooth, clean f...
View full detailsThis is my favorite bit for any CNC job! The down-cut provides a clean top finish and the 1'' cutting length allows you to use this for most projec...
View full detailsThis three-piece O-Flute CNC Bit Set includes the most commonly used sizes for cutting plastics, acrylics, HDPE, and other soft materials. Perfect ...
View full detailsPart of the "Gold Digger Family" of bits, the Golden Boy XL is the ultimate extended cutting length CNC bit for speed, designed to cut fast, cut ex...
View full detailsThe 1/2” O-Flute bit is a go-to tool for clean, precise cuts in hard or soft plastics, acrylic, or HDPE. Engineered with a single flute design, it ...
View full detailsPart of the “Gold Digger Family”, the Golden Girl is the ultimate Downcut CNC bit for speed, designed to cut fast, cut deep, and stay sharp. The Do...
View full detailsGreat for Profiling and cutting out small products and parts. It can be used for pocketing and corners with tight radiuses. I love to use this bit ...
View full detailsCarve faster without sacrificing detail with this 3.6° tapered ball nose bit, perfect for 3D carving, inlays, and deep engraving. The 1/16" radius ...
View full details
All Ready-to-use panels are created in our Texas shop by our dedicated team.
Overall rating: 4.9 / 5 from 4301 reviews.
ColorCore is our go to for outdoor signage!
ColorCore HDPE Plastic - Premium Multi-Layer Engravable Sheets

Always great material with no scratches. Always engraves & laser cuts flawlessly.

This company is always incredible to work with. Top notch service and products!

Loved the maze kit, was my first build ever from a kit, and it turned out perfect! I just gave the maze to my next door neighbor's granddaughter and she loves it! I have purchased and received 3 more maze kits and will be using them as Christmas presents. Thank you Ryan and all of CIC! Richard Hill '82 Gig 'em Aggies!

Works Great!!

I love the kit, good job

Used for the letters in the name and Veteran. Worked great also for the outside chamfer.

used the 1/16 to reach the areas that my 1/8 o-flute missed or left rounded. I'd never used a bit that small before, so i used really safe numbers for the speed/feeds. 13mm/sec, DoC:.4mm, plunge=3mm/sec

My first order with CIC after following along on YouTube. Love you guys. The process was smooth and the packaging is absolutely perfect. You can tell they take their time and ship it properly. This project came out perfect. It’s now on display / for sale in my shop at the United States Military Academy, West Point. Huge football following here for Army. I also have the large flag to do now, and I can’t wait to get that out on display.

This was a fun project to cut out on my new Shapeoko CNC, and was one of my first cuts from plans. I learned a great deal, and was inspired to buy two of your inlay kits to begin learning inlay creation and production. Thanks for all you do to support the CNC community. Gig 'em Aggies! Richard Hill '82

Quick and easy starter project. Includes learning the VCarve global circle sizing gadget. Project prep includes the range….

Made mine out of 7/8 x 5 1/2 in stock 5/8 deep. Tool paths were pretty basic and the pieces fit perfectly.

Wood was smooth with no dents or nicks. Good weight to it for a cutting board.

Creating a wine table and needed to represent red wine. This worked perfect. Not completely done yet. But very pleased with the wood!
Purple Heart Hardwood Lumber Pack – 13/16" S4S – Free Shipping

Been woodworking for years but relatively new to CNCing. This project was a ton of fun. The kit was very good and complete, but the real benefit was the accompanying video which made this easier and a good learning project for a newbie. Looking forward to using this at my next tailgate!

The bit worked out great. This was my first juice groove and I couldn’t be happier with the results

I made a few adjustments to the file and everything turned out great. I can’t wait to create more versions of this product. Thanks CIC for offering such solid foundations for us to build upon.

Love the cutting board kits, I only have the fun part left to do!

I buy lots of material and bits from CIC. I’ve found the products to be superb. These are some projects I recently made for a craft sale. Ryan’s videos have taught me a lot. Thanks much.

Great file. Fun to make

Ryan was kinda spot on about the time savings by using premade panels. As a small garage shop business, I lost days at a time trying mill, glue and surface panels. By adjusting my workflow and products around two uniform sizes, no only am I able to keep the CNC humming daily, I spend less time trying to mill everything to the same size or spend time trying to program around various dimensions. Every program gets dialed in one and done. Well done, Ryan! You’re on to something and your new business model should be wildly successful!!

Tried something a little different. Would prefer a better grain match on the blank that’s why I tried the green stain.

Great design and will be nice when I get finished

Very nice and great shipping

I love it going to make some for my tree boys

An easy carve and beautiful result! I downsized it to fit the Cherry workpiece I had and spent a little extra time sanding with finer grit to get the shine I wanted. Added a chamfer to the edges and rubber feet to the underside to give it a bit of pop.

I love your videos and it seems a great family business. I love reading the personalized wooden cards that come with the orders. A very nice touch! I started running a 3D printing business a year back and decided to start making some CNC projects on the side, but now the signs I have been making seem to be more popular than my 3D prints. Check out SayocaDesigns.com. Keep up the good work and keep inspiring us. Cheers! Steve.
ColorCore HDPE Plastic - Premium Multi-Layer Engravable Sheets

Kits are great. You can get right to the fun part…CNC

Great product, looks beautiful on this walnut end grain cake plate. Good price, fast delivery, great communication. Looking for more projects to use these feet on

Thanks to Ryan's great video on doing VCarve Inlays and the high quality 30 degree V Cutters that CIC sells, I just recently made this table and the Humming Bird Inlay was done with the CIC 30 degree V Bit. The table is made from Curly Maple and the Humming Bird is Walnut and the Flower is African Rose Wood. The table was made to donate for a fund raising event at our local cancer treatment center.

Ran and cut very well.

Works great

These bits simply work well, no drama, minimal chipout no fuss and little fuzz. I follow the recommended feed/speed and the resulta are consistent….which is what I want.

BamX machines so cleanly that any project is a breeze. I love the density of this bamboo. Nice, solid feel!

The best set of bits to cut all my HDPE sheets. The bits are extremely sharp and cuts are so clean.

I love it

Game Day Board kit worked great. Materials, files, and video are all top notch. Maybe do kits for other sports fields? Keep up the good work. John S

I did an epoxy inlay

The board cut great except around the stars. There were several points that chipped out.

Great build using CIC cherry lumber pack.